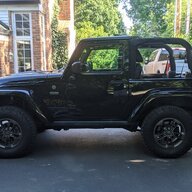
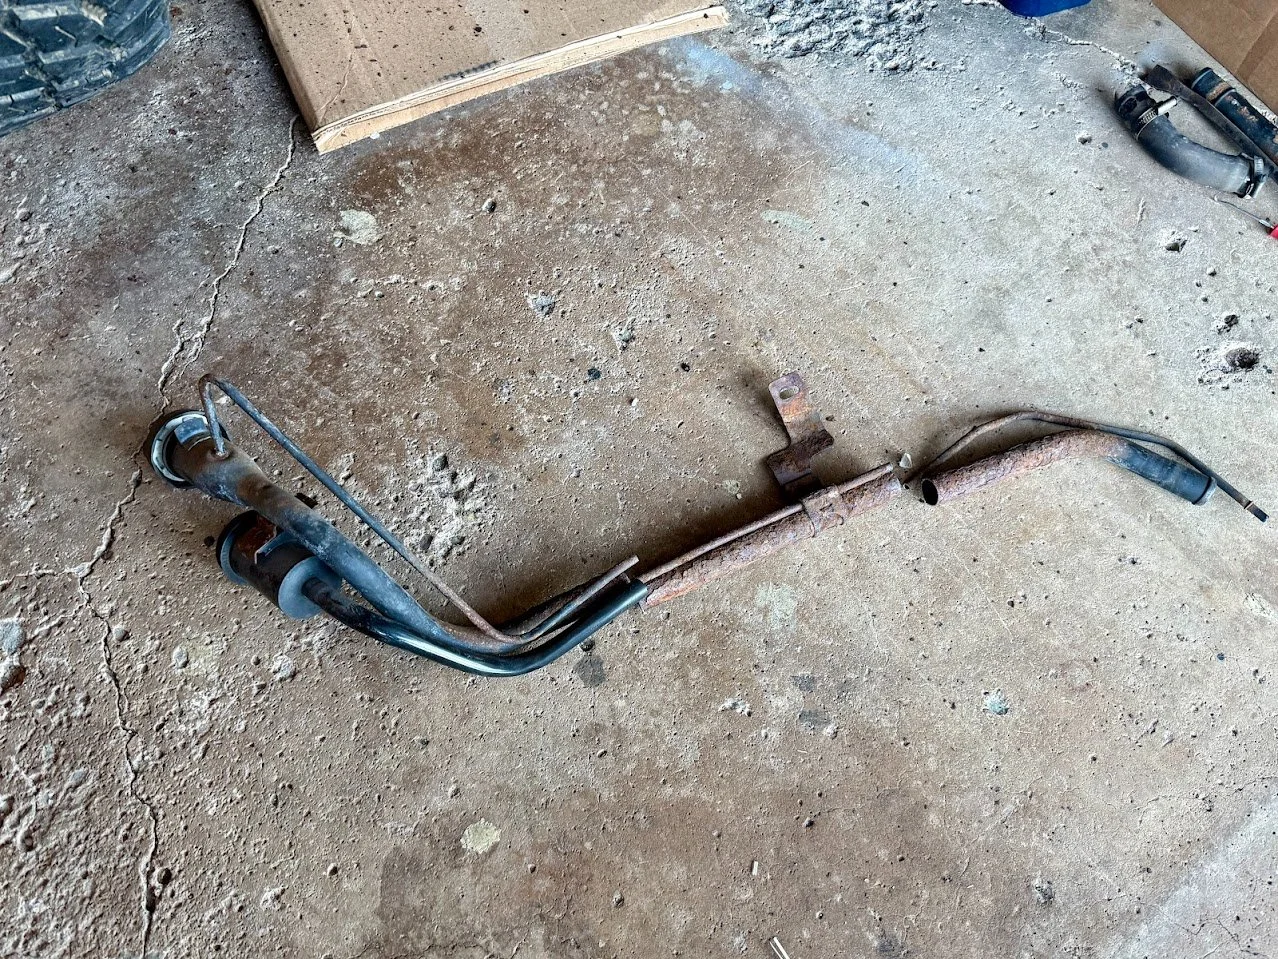
The Motobilt Rear Fuel Tank Kit arrives today, so over the weekend, I worked on getting it ready. The first step was getting the fuel filler neck removed and trimmed out.
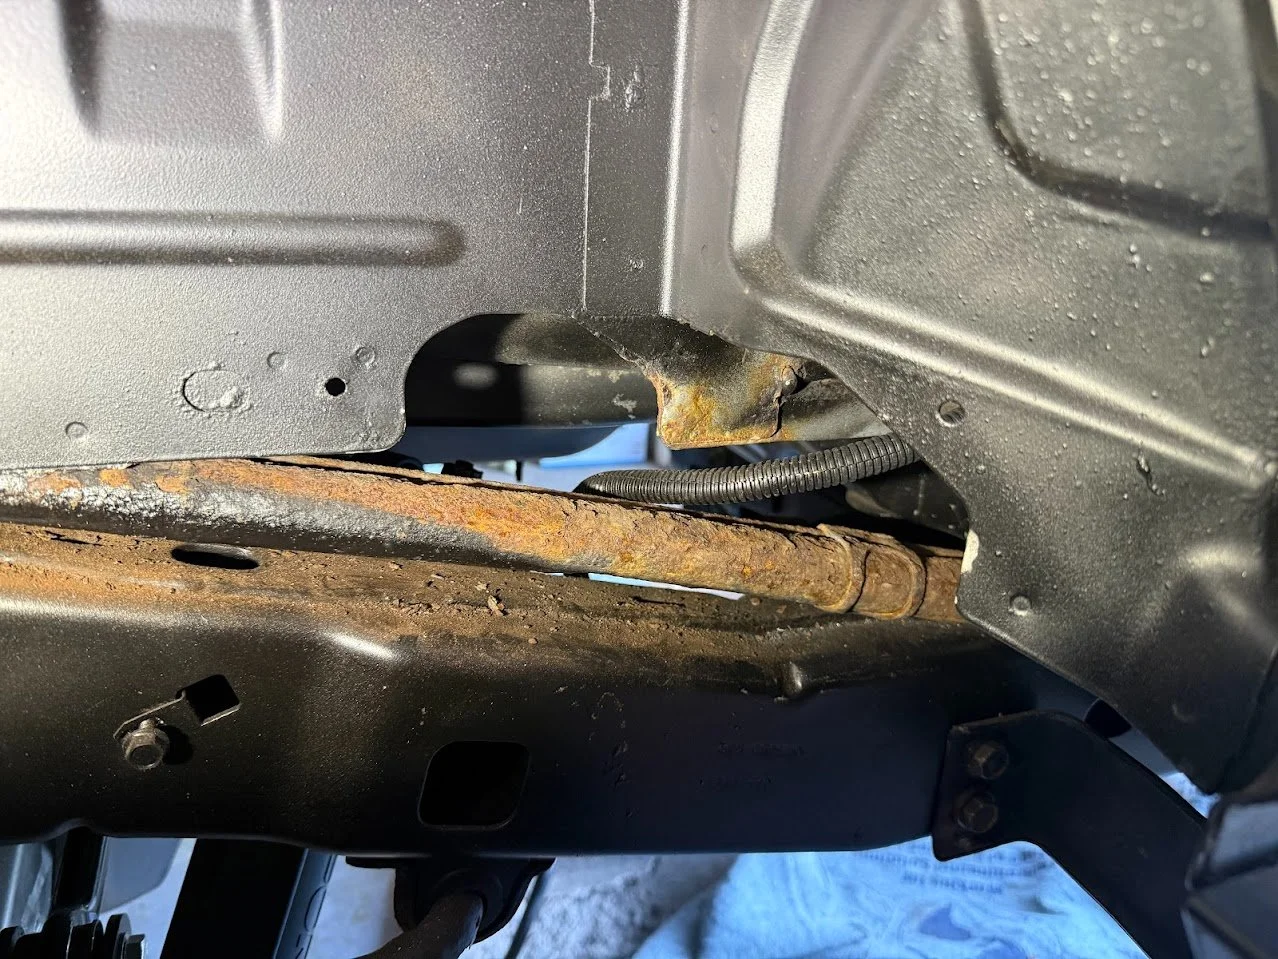
I was shocked that it could not be removed without lifting the tub. Since I don't need to "save" it, I simply cut it out with a Diablo Sawzall blade, using the space in the "notch" in the rear driver-side wheelwell opening.
The Motobilt tank doesn't allow the use of the factory rear sway bar, so you have to run a Currie or similar. Unfortunately, removing my OEM sway bar led to this:
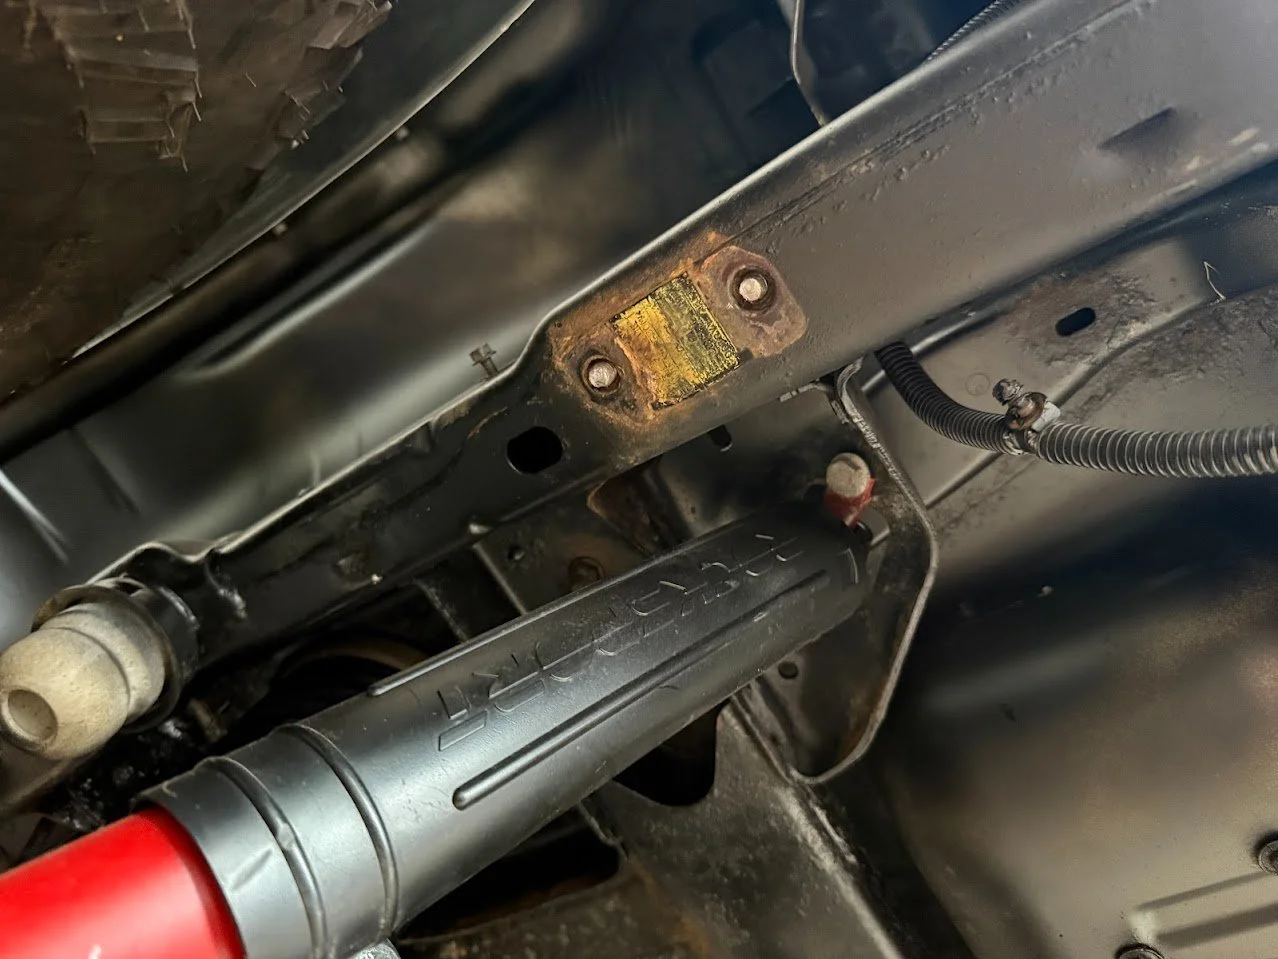
I need these holes since the Motobilt rear tank skid uses them as a mounting point. So far I tried to get the broken bolts out with the "weld on a nut" trick, but it's being stubborn. I may have to drill these out and run a bolt/nut through the frame...
Update 5/27/2026
Getting back to the gas tank install, it took me some time to deal with these broken bolts. I went through about 20 nuts trying to get a solid weld onto one to get it removed, but with no luck. I ended up drilling out the bolt and the nut on the inside of the frame. I then used a step bit to open up the drilled hole to just shy of the welded "nubs" on the nut that was holding it to the frame rail. A quick whack with a chisel and they popped free.
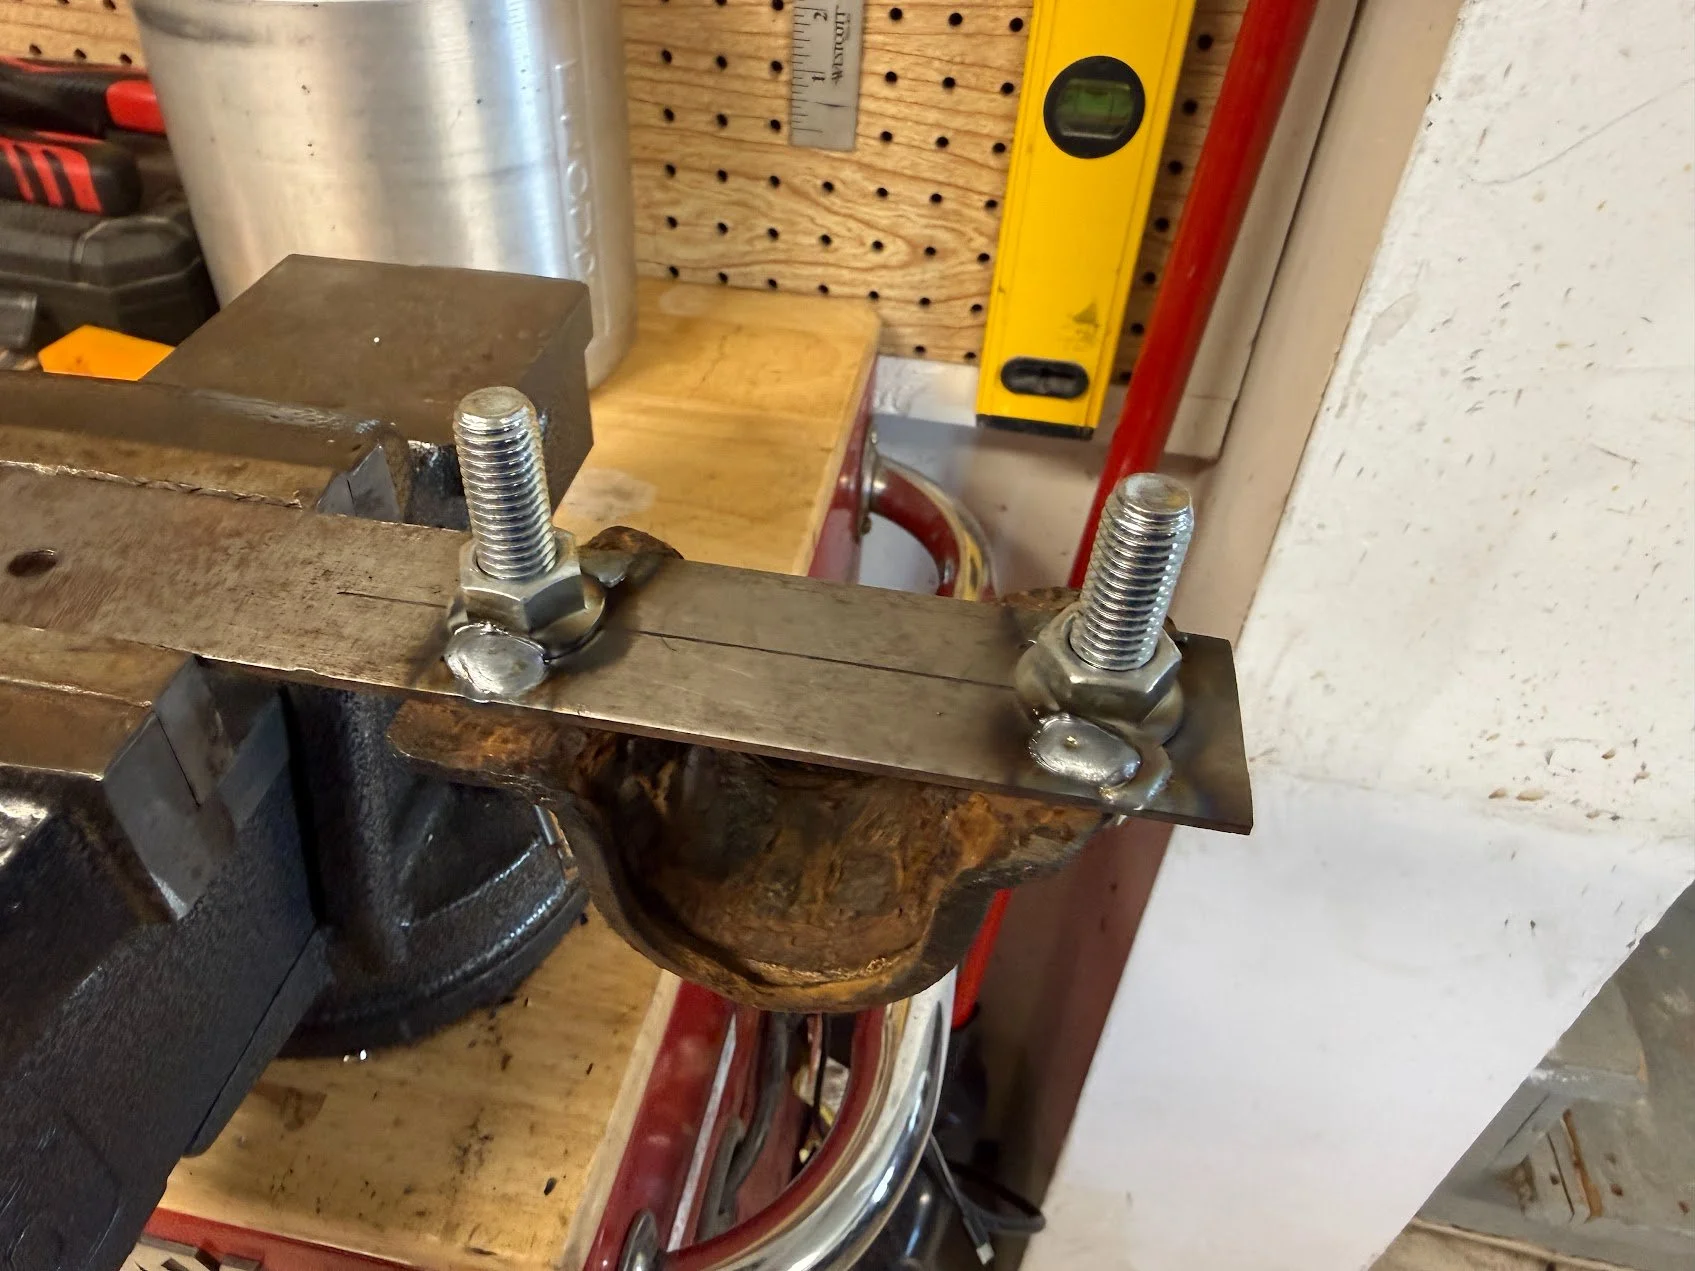
To remedy the missing nuts, I made a nutplate that I can install from a hole in the frame, even with the bumper installed. Nothing fancy, just some nuts that matched the factory bolt thread size (this way I don't need to use a different socket on either side of the tank):
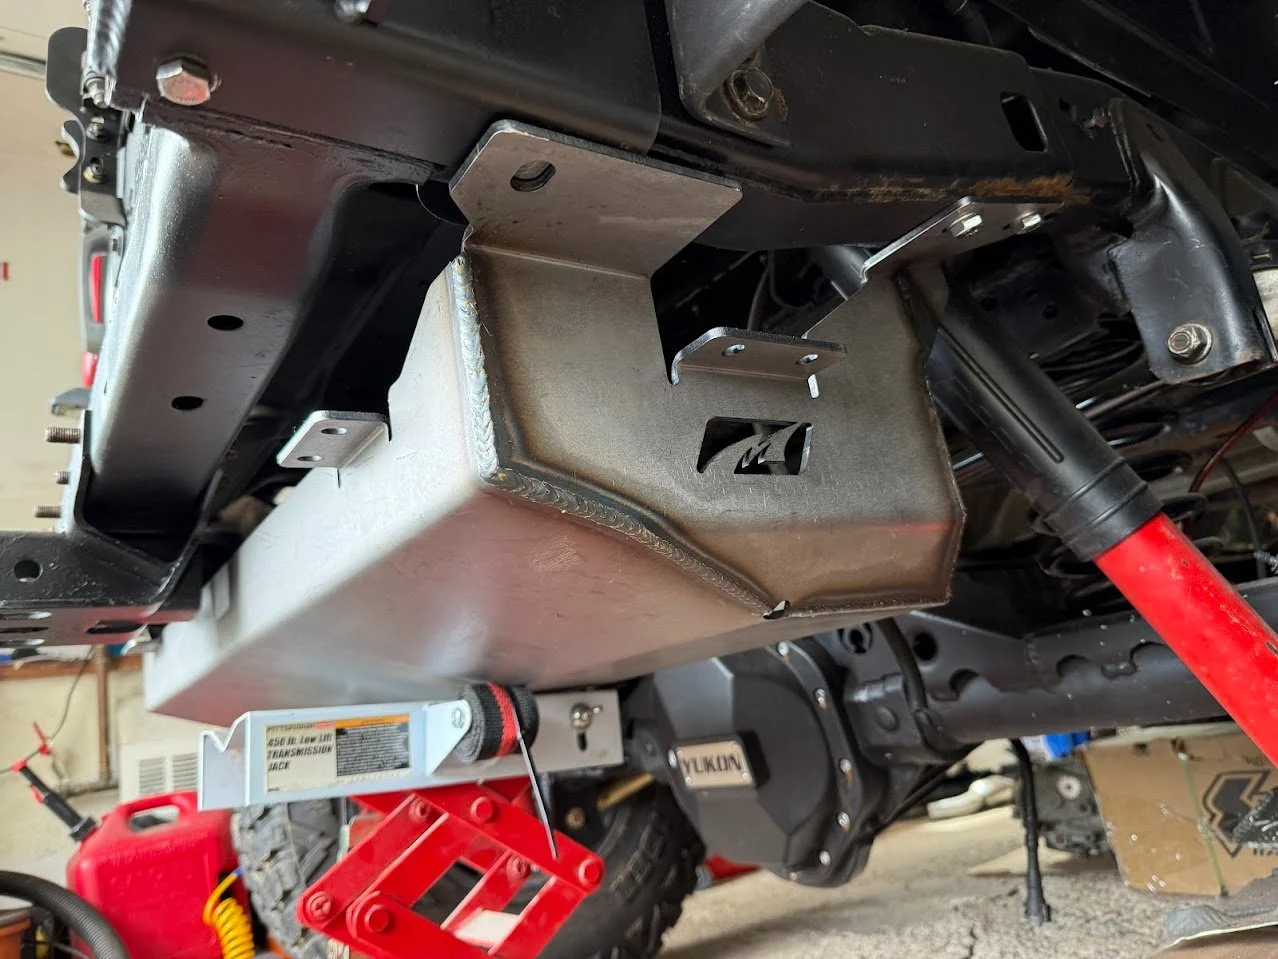
Test fitting the tank skid was easy, though this thing is a little heavy and the awkward shape makes doing it by yourself a little tricky. Luckily, the Harbor Freight Trans Jack worked perfectly for this:
The frame bracket for the AEV Tire Carrier cradles and wraps around the frame right where the rear-most portion of the tank skid gets bolted down:
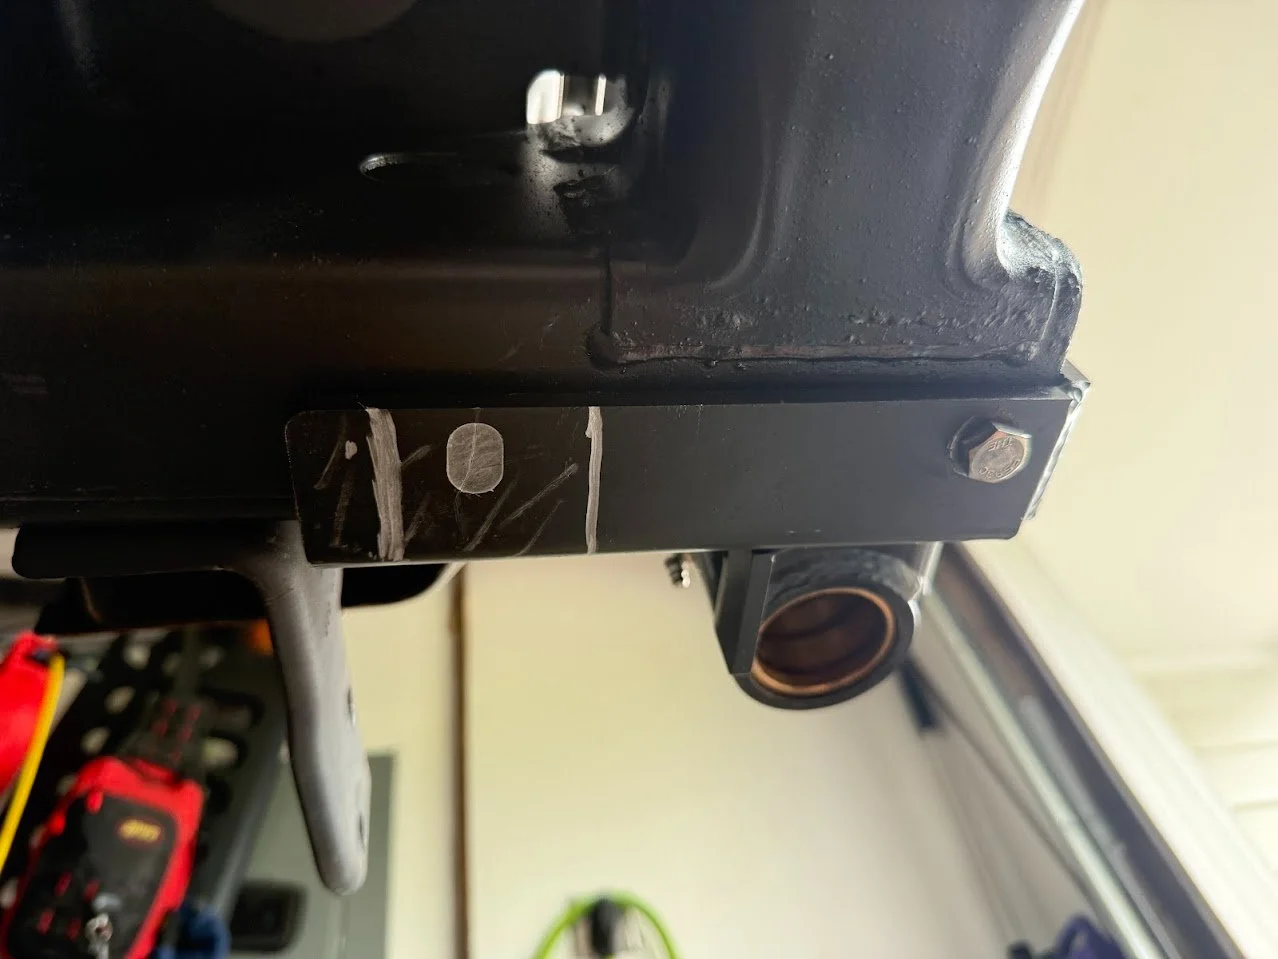
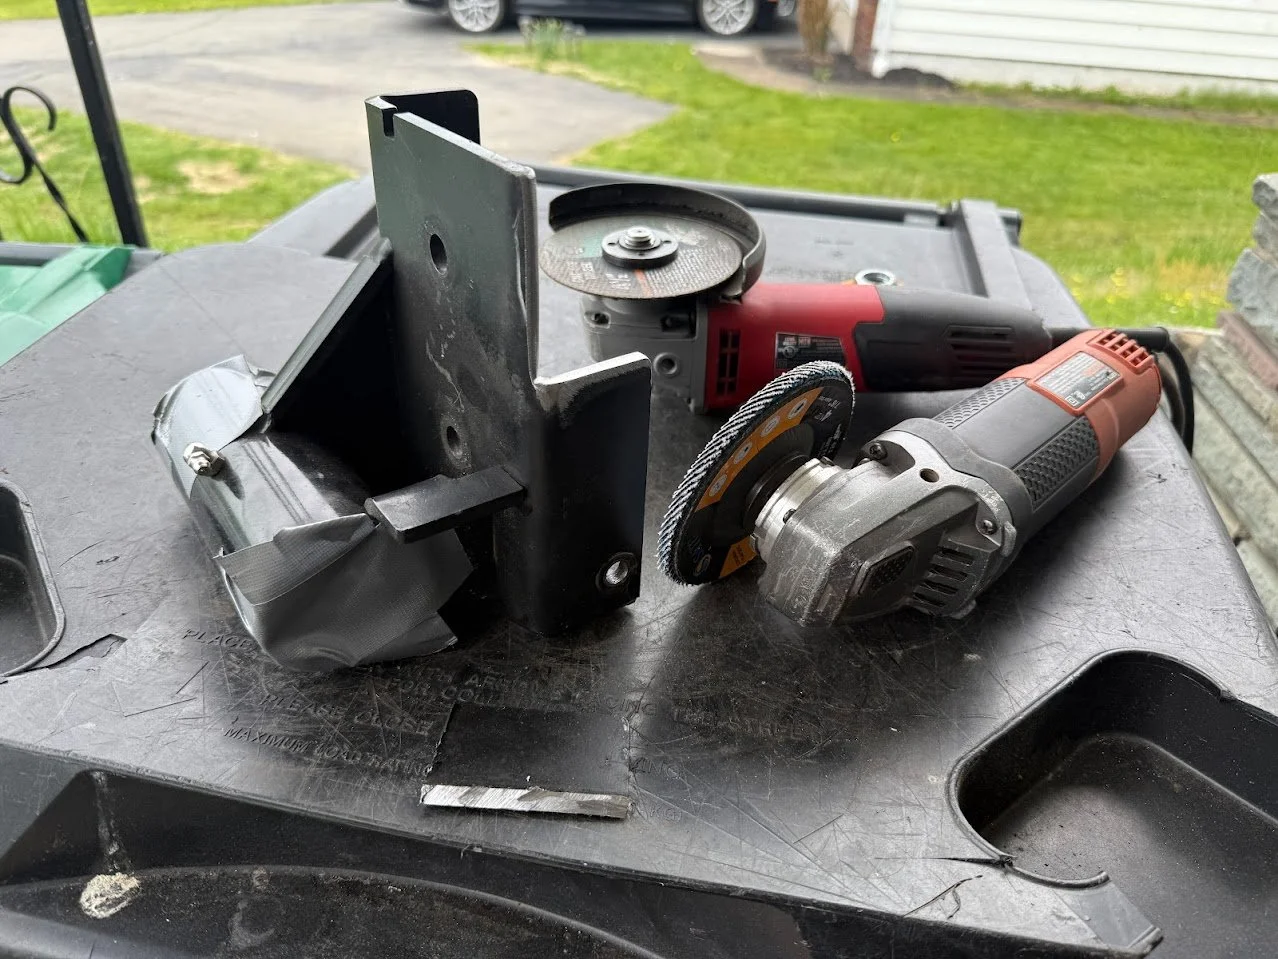
A quick hit with an angle grinder fixes this:
I was shocked that it could not be removed without lifting the tub. Since I don't need to "save" it, I simply cut it out with a Diablo Sawzall blade, using the space in the "notch" in the rear driver-side wheelwell opening.
The Motobilt tank doesn't allow the use of the factory rear sway bar, so you have to run a Currie or similar. Unfortunately, removing my OEM sway bar led to this:
I need these holes since the Motobilt rear tank skid uses them as a mounting point. So far I tried to get the broken bolts out with the "weld on a nut" trick, but it's being stubborn. I may have to drill these out and run a bolt/nut through the frame...
Update 5/27/2026
Getting back to the gas tank install, it took me some time to deal with these broken bolts. I went through about 20 nuts trying to get a solid weld onto one to get it removed, but with no luck. I ended up drilling out the bolt and the nut on the inside of the frame. I then used a step bit to open up the drilled hole to just shy of the welded "nubs" on the nut that was holding it to the frame rail. A quick whack with a chisel and they popped free.
To remedy the missing nuts, I made a nutplate that I can install from a hole in the frame, even with the bumper installed. Nothing fancy, just some nuts that matched the factory bolt thread size (this way I don't need to use a different socket on either side of the tank):
Test fitting the tank skid was easy, though this thing is a little heavy and the awkward shape makes doing it by yourself a little tricky. Luckily, the Harbor Freight Trans Jack worked perfectly for this:
The frame bracket for the AEV Tire Carrier cradles and wraps around the frame right where the rear-most portion of the tank skid gets bolted down:
A quick hit with an angle grinder fixes this:
Last edited: